 ( 292 ) 11-Jun-2015
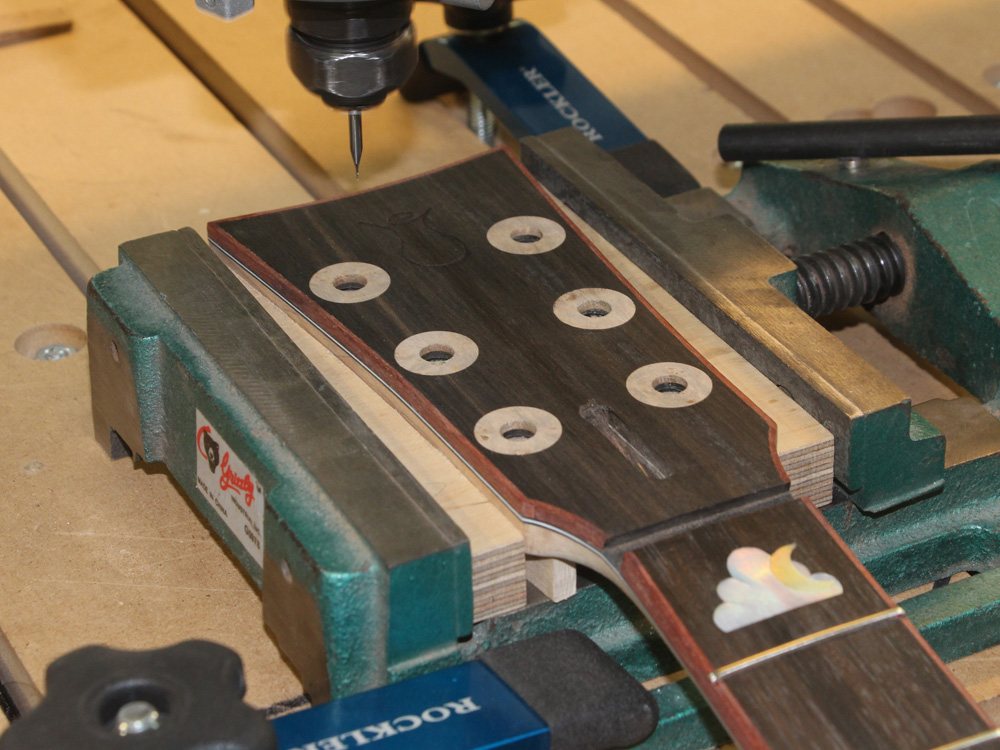
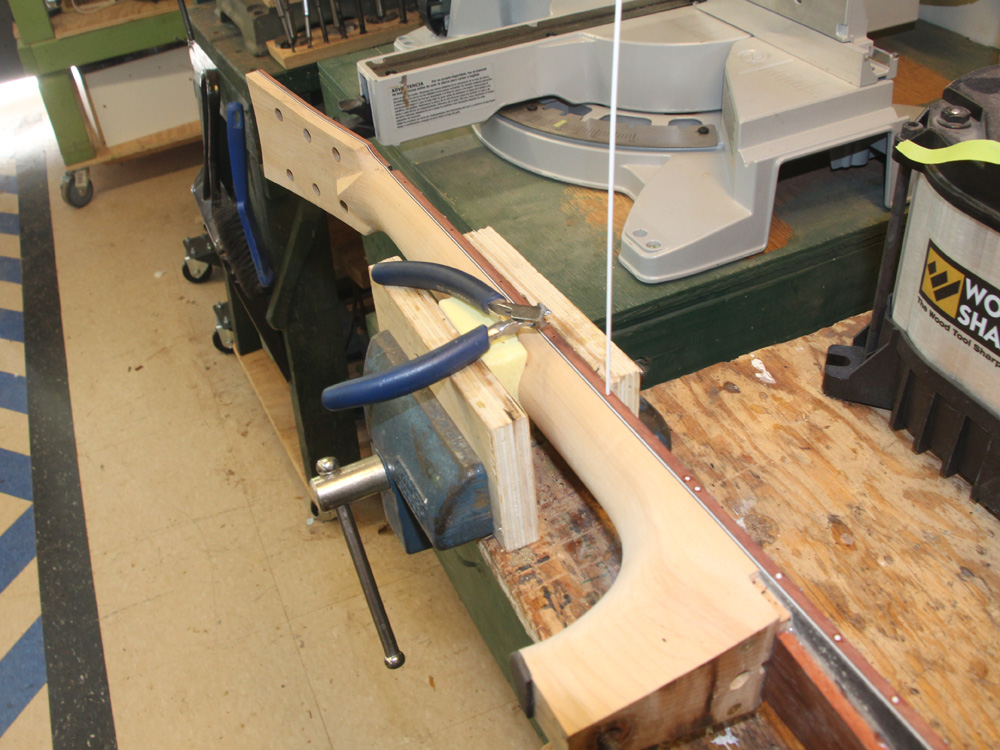
I use my CNC Router and a very small mill end tool to route the channel for the head stock inlay.
OM..................... 15" Lower Bout
Body..................... Walnut
Top....................... Sitka Spruce
Bracing................. Engineered asymmetrical modified X-bracing system
Neck..................... 25.4" Scale Maple,
User Adjustable Tilt Action Neck … Variable String to Fretboard Spacing
Dual action truss rod
Fretboard.............. Ebony
Bridge................... Ebony
Binding................. Blooodwood
Appointments....... Shell Inlay
Tuners.................. Gotoh 510 Silver
Nut & Saddle....... Bone
( 292 ) 11-Jun-2015
I use my CNC Router and a very small mill end tool to route the channel for the head stock inlay.
 ( 293 ) 11-Jun-2015
 ( 294 ) 11-Jun-2015
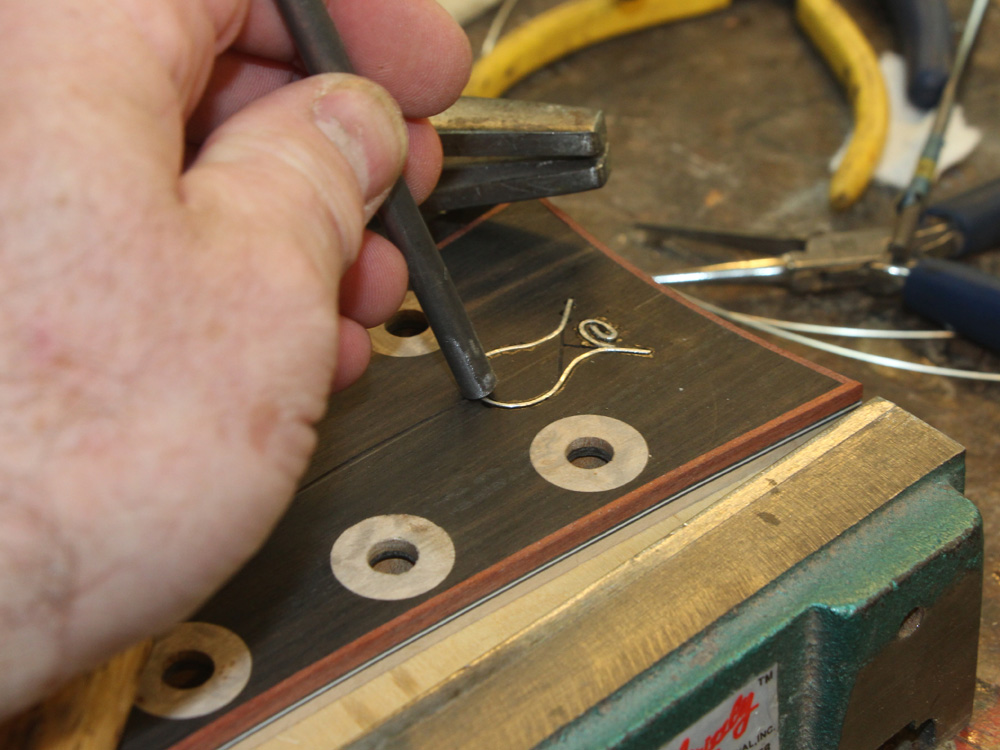
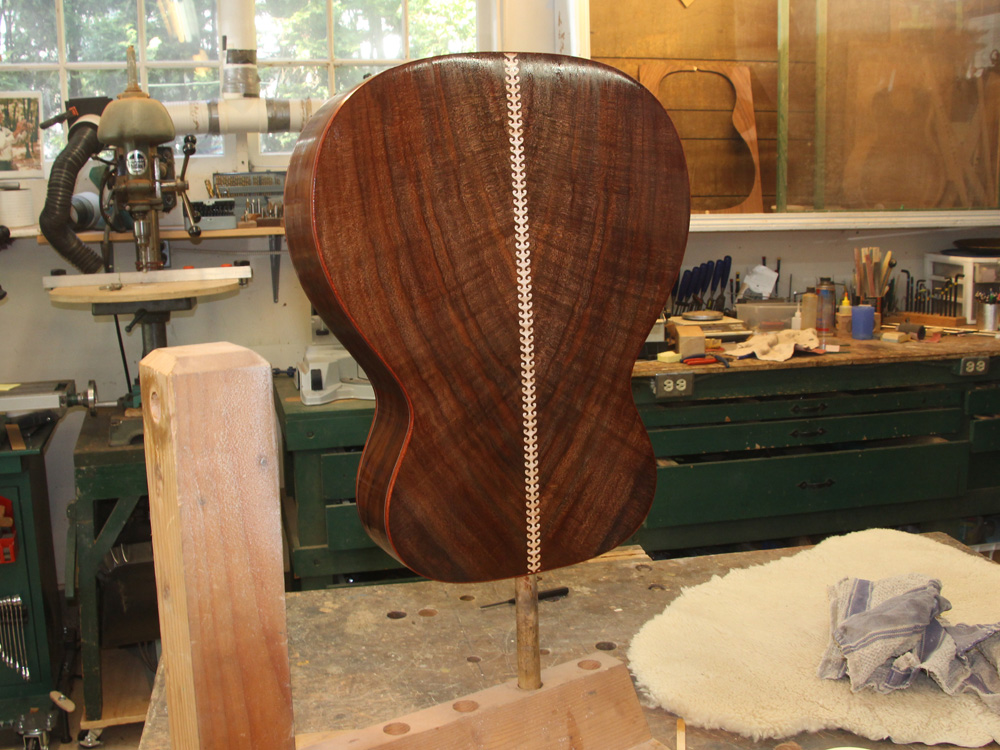
I use square silver wire to create the inlay.
 ( 295 ) 11-Jun-2015
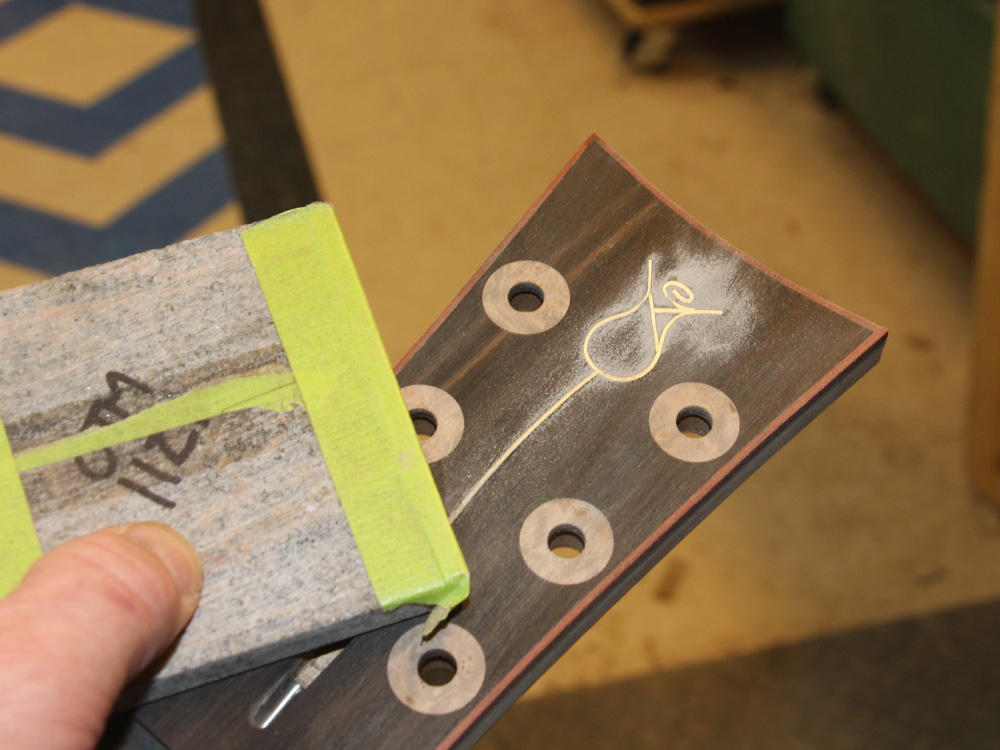
The wire stands a bit proud of the surface.
 ( 296 ) 11-Jun-2015
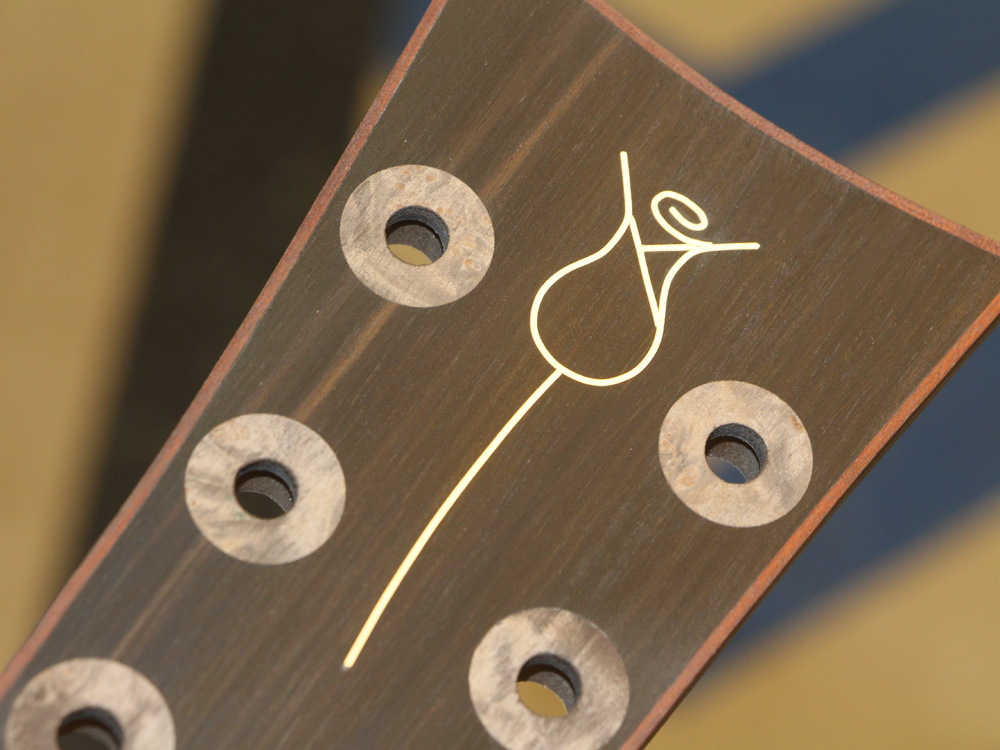
I sand every thing flush and smooth.
 ( 297 ) 11-Jun-2015
The Portland Guitar Rose.
 ( 298 ) 11-Jun-2015
I use a PVC dowel to create the side dots.
 ( 299 ) 11-Jun-2015
 ( 300 ) 11-Jun-2015
Surface prep is critical to getting a good finish. I fill the pores and level the surface with several applications of epoxy and leveling steps..
 ( 301 ) 11-Jun-2015
My present spray set up.
 ( 302 ) 11-Jun-2015
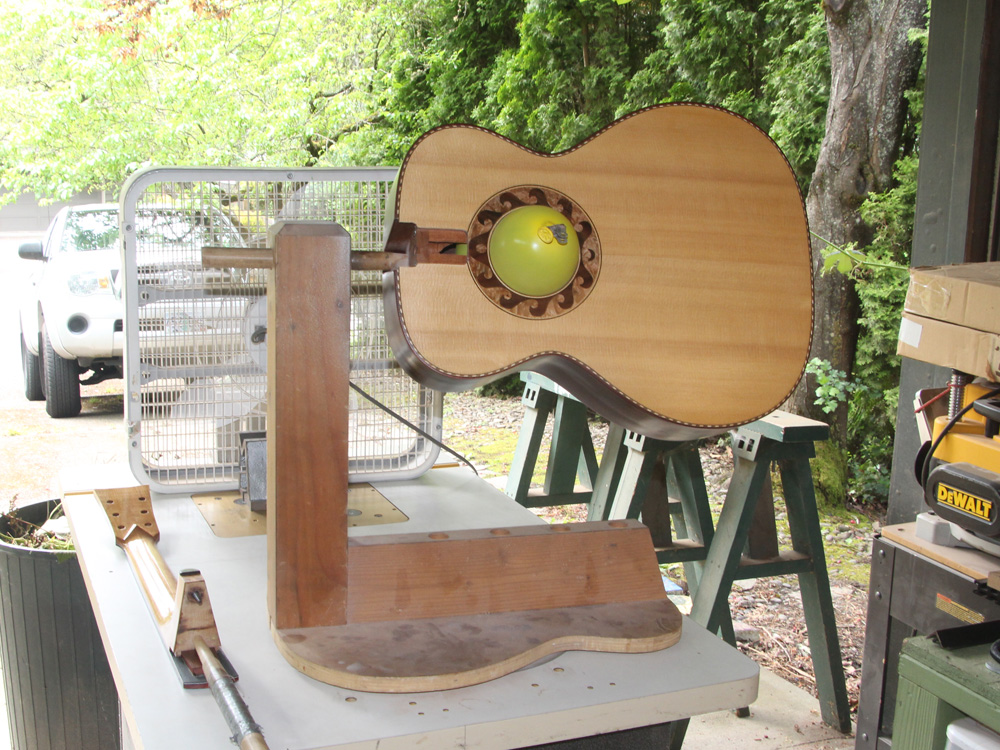
After the nitrocellulose has cured, I level the surface again using progressively finer sanding and polishing cloths.
 ( 303 ) 11-Jun-2015
Eventually I get a high shine I am satisfied with... it is never perfect, but I am getting closer.
 ( 304 ) 11-Jun-2015
The CNC router is used to rough out the bridge.
 ( 305 ) 11-Jun-2015
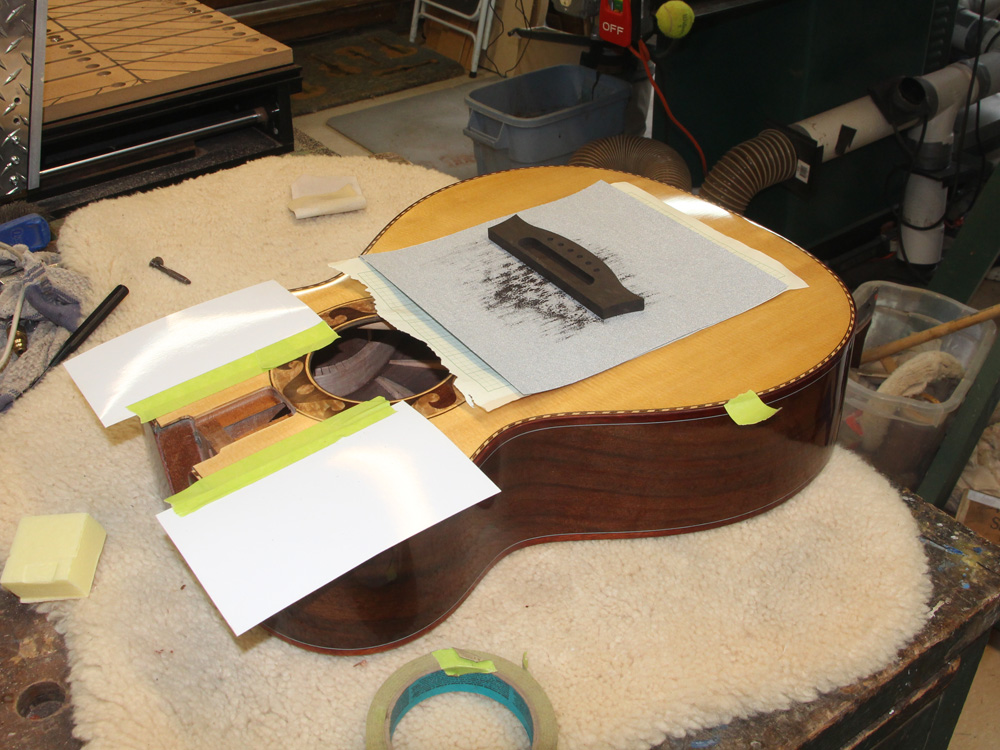
I lay a piece of sandpaper on the top of the guitar and sand the bottom of the bridge until it matches the top.
 ( 306 ) 11-Jun-2015
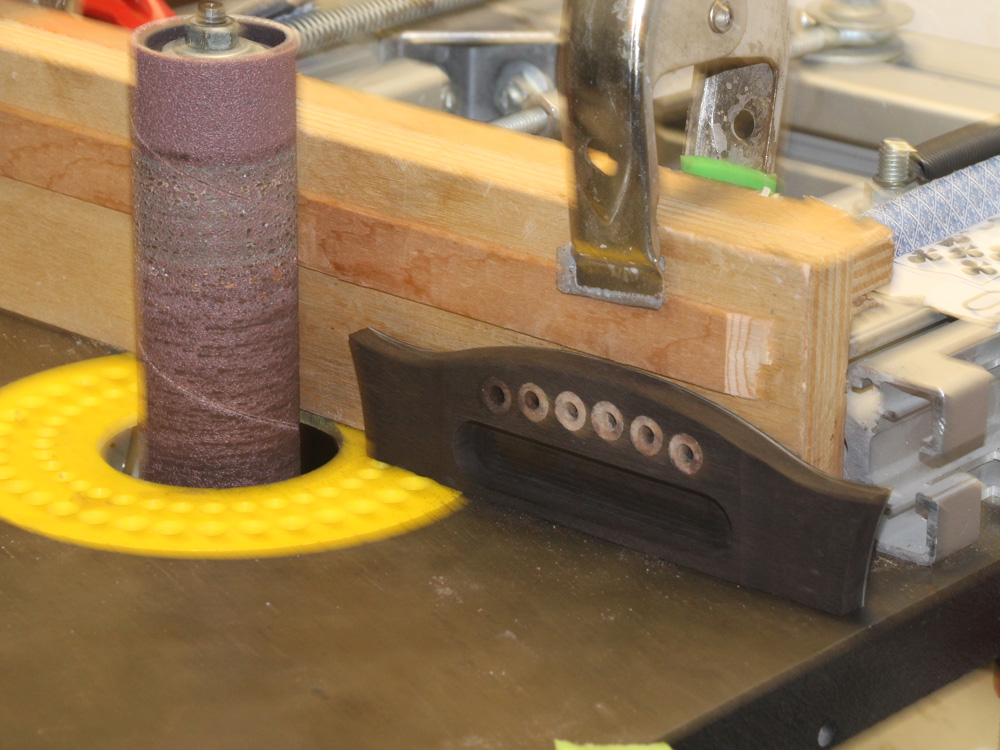
The oscillating sander creates the wings.
 ( 307 ) 11-Jun-2015
And after a bit more work that I forgot to take pictures of I drop in the saddle plate.
 ( 308 ) 11-Jun-2015
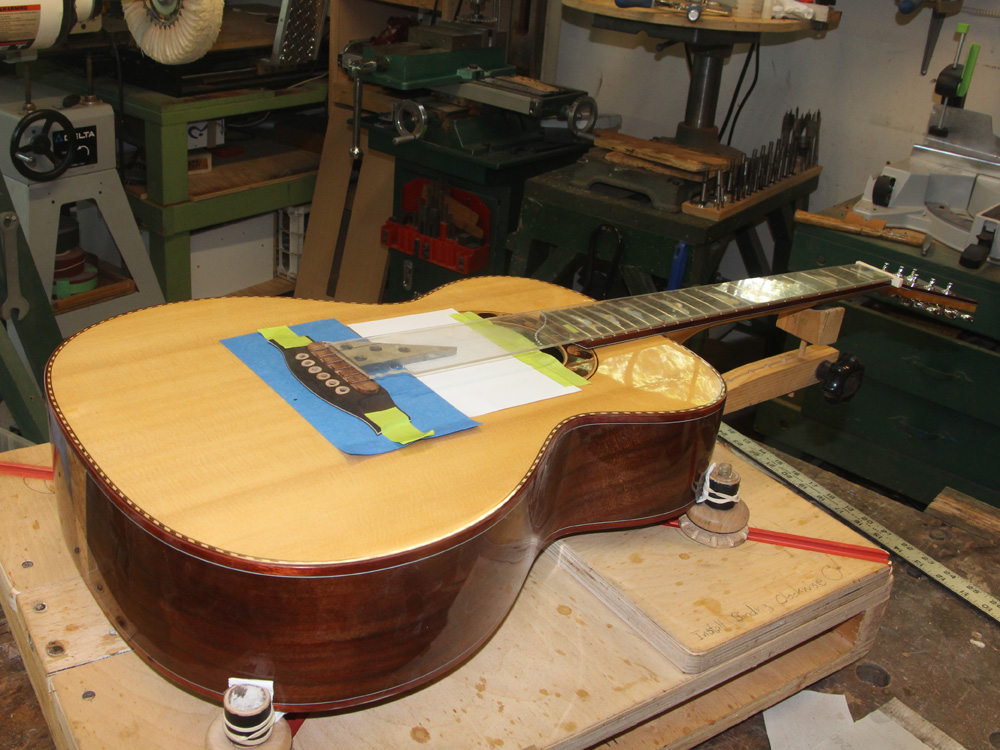
To glue the bridge on I first lay it out on the top of the guitar.
 ( 309 ) 11-Jun-2015
Then I score the perimeter.
 ( 310 ) 11-Jun-2015
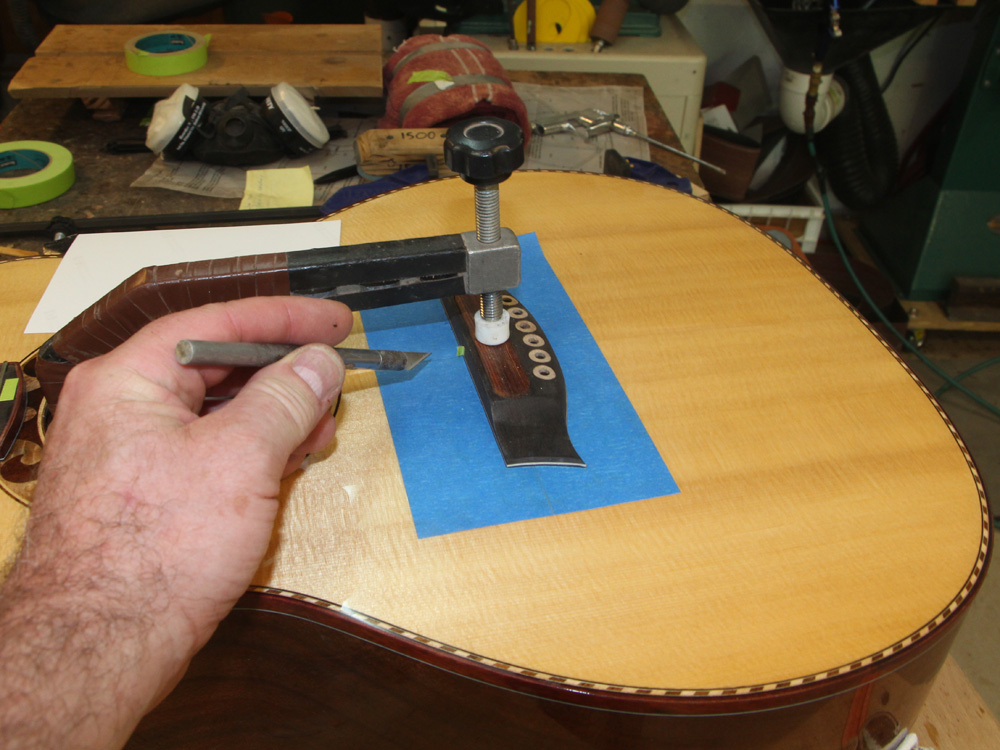
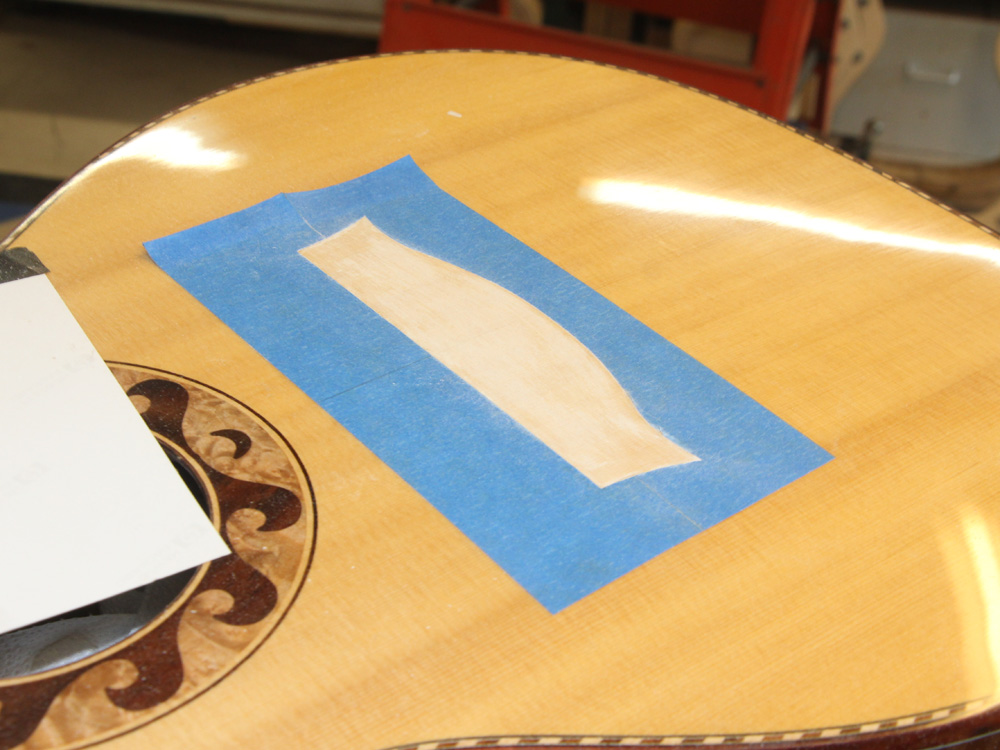
Then I carefully remove the finish where the bridge will be glued to the top.
 ( 311 ) 11-Jun-2015
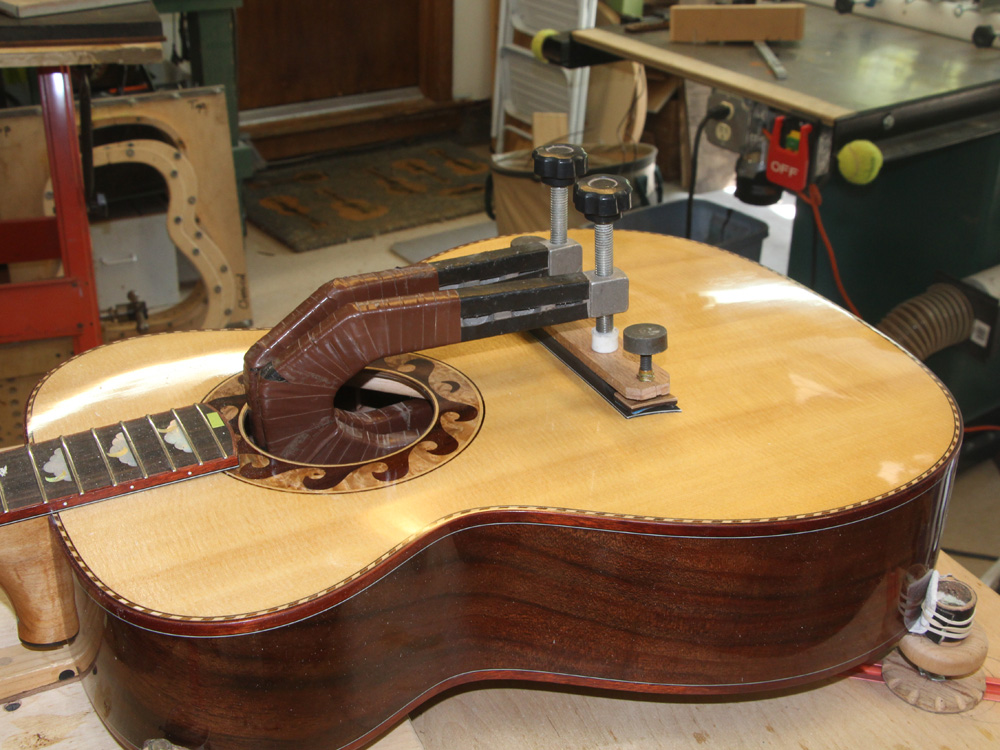
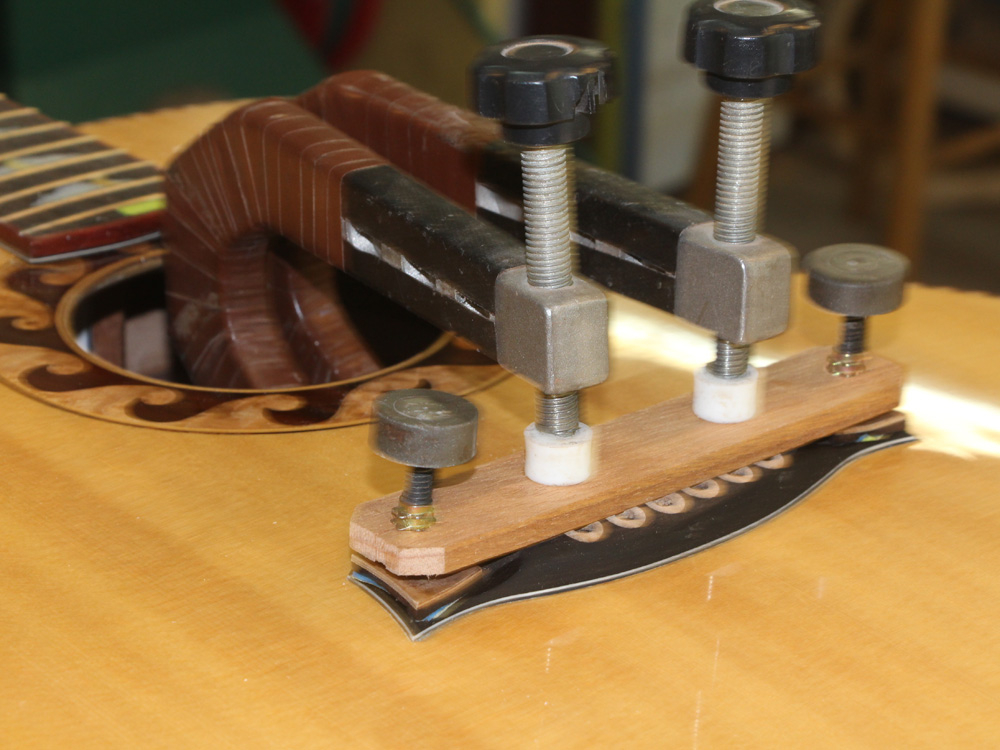
A couple of clamps and a special tool presses the bridge in place.
 ( 312 ) 11-Jun-2015
 ( 313 ) 11-Jun-2015
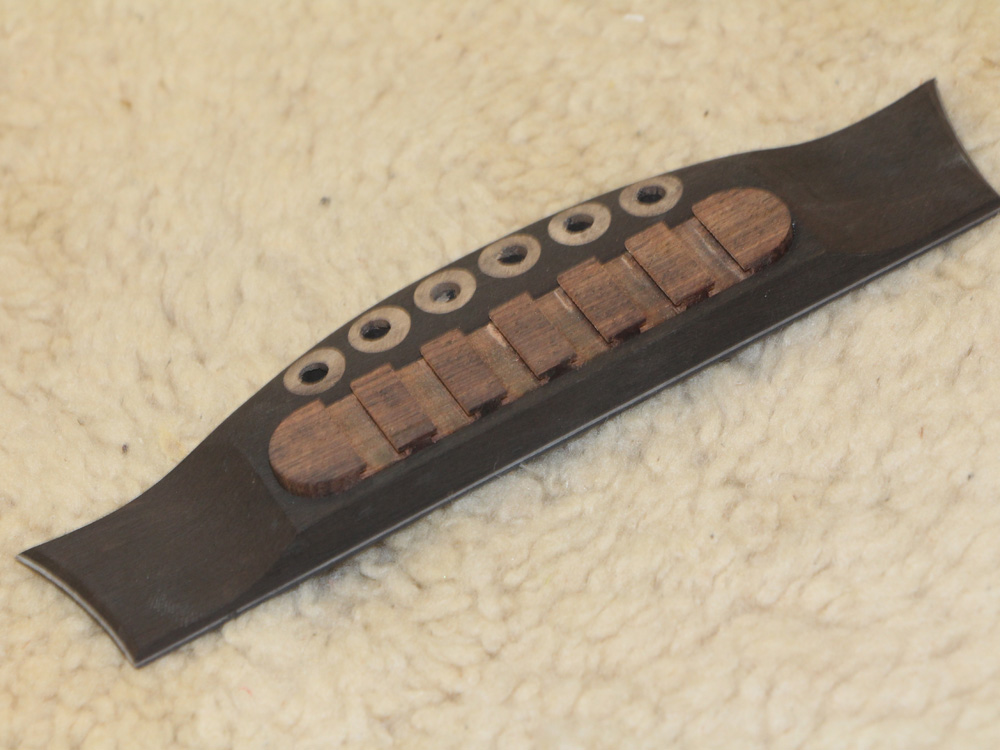
Now I drill the holes for the bridge pins.
 ( 314 ) 11-Jun-2015
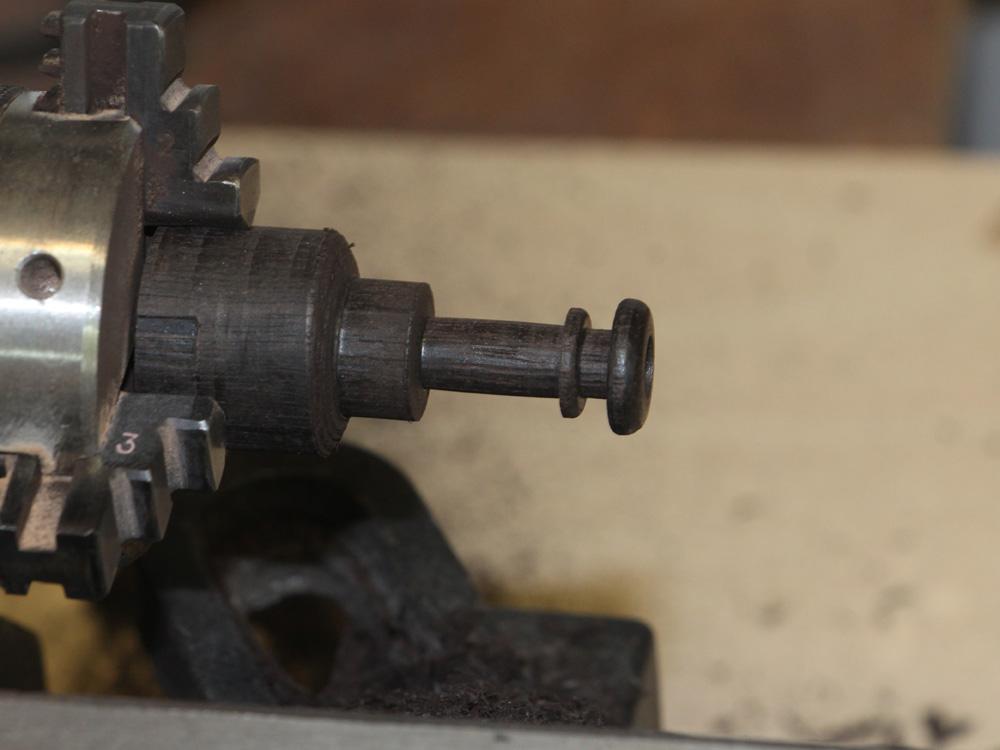
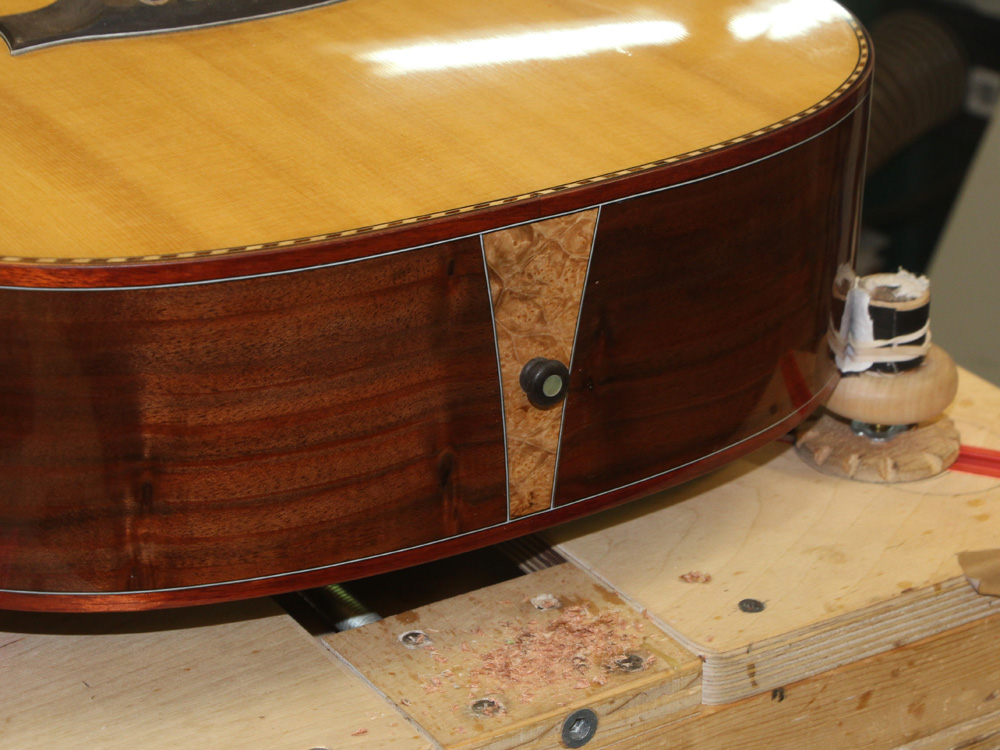
I decided to turn an end pin from an ebony dowel.
 ( 315 ) 11-Jun-2015
And then after making the saddles and a bit more work that escaped my camera, the guitar gets strung up. Check the Photos out.